Image
Insert image
- Select place where insert image
-
Click toolbar button icon . Image dialog will open:
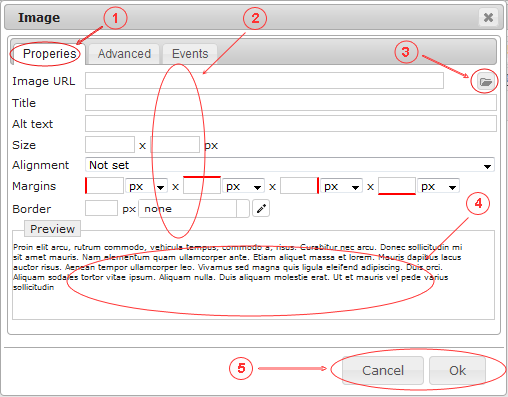
- Enter image properties:
- "Properties" tab selected
- Fill properties fields
- Image URL (or select it with file manager)
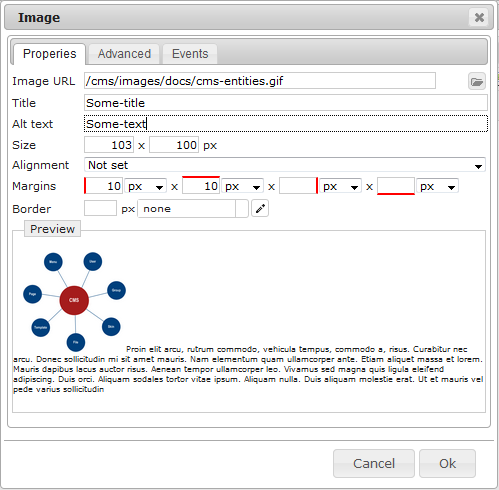
- Title - ex. "Some-title"
- All text - ex. "Some-text"
- Size - ex. 103px (width) x 100px (height); Note: aspect ratio is automatically supporting!
- Aligment
- Margins - ex. 10px (left) x 10px (top)
- Border
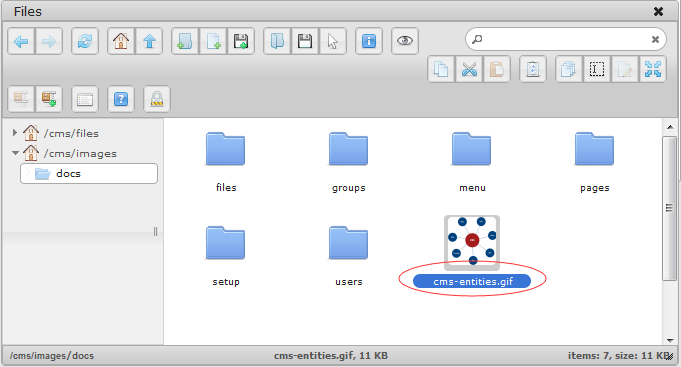
- Open file manager to select file if image is site file
Select file and dblclick. Strongly recommend to add prefix "http://your-site-url" to let Google properly index this image
- Image preview area
Image dialog result:
You can define image more detailed in other tabs:
- Advanced:
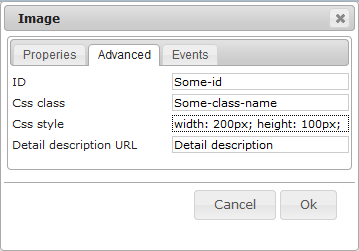
- ID - ex. "Some-id"
- CSS class - ex. "Some-class-name"
- CSS style - ex. update width to 200px Note: there is a way how to ignore aspect ratio of "Properties" tab!
- Detail description URL - ex. "Detail description"
- Click button: "OK" - insert image, "Cancel" - cancel action
- Events
Inserted image result:
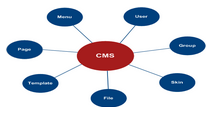
HTML (source) code:
<img longdesc="Detail description" class="Some-class-name" id="Some-id" style="width:200px;height:100px;vertical-align:baseline" src="http://www.kusoftas.com/cms/images/docs/cms-entities.gif">
Edit image

- Place mouse cursor before or on image
- Click toolbar button icon . Edit image properties
